April 30, 2026
Maintaining a smooth, jet-black driveway or parking lot is a point of pride for any property owner, but asphalt is a material that demands constant vigilance against the elements. While minor upkeep can often be handled with a trip to the local hardware store, the line between a simple weekend project and a structural disaster is thinner than most realize. This guide explores the critical differences between tackling repairs yourself and hiring an expert paving company to ensure your investment lasts for decades.
Assessing the Scope of Surface Damage
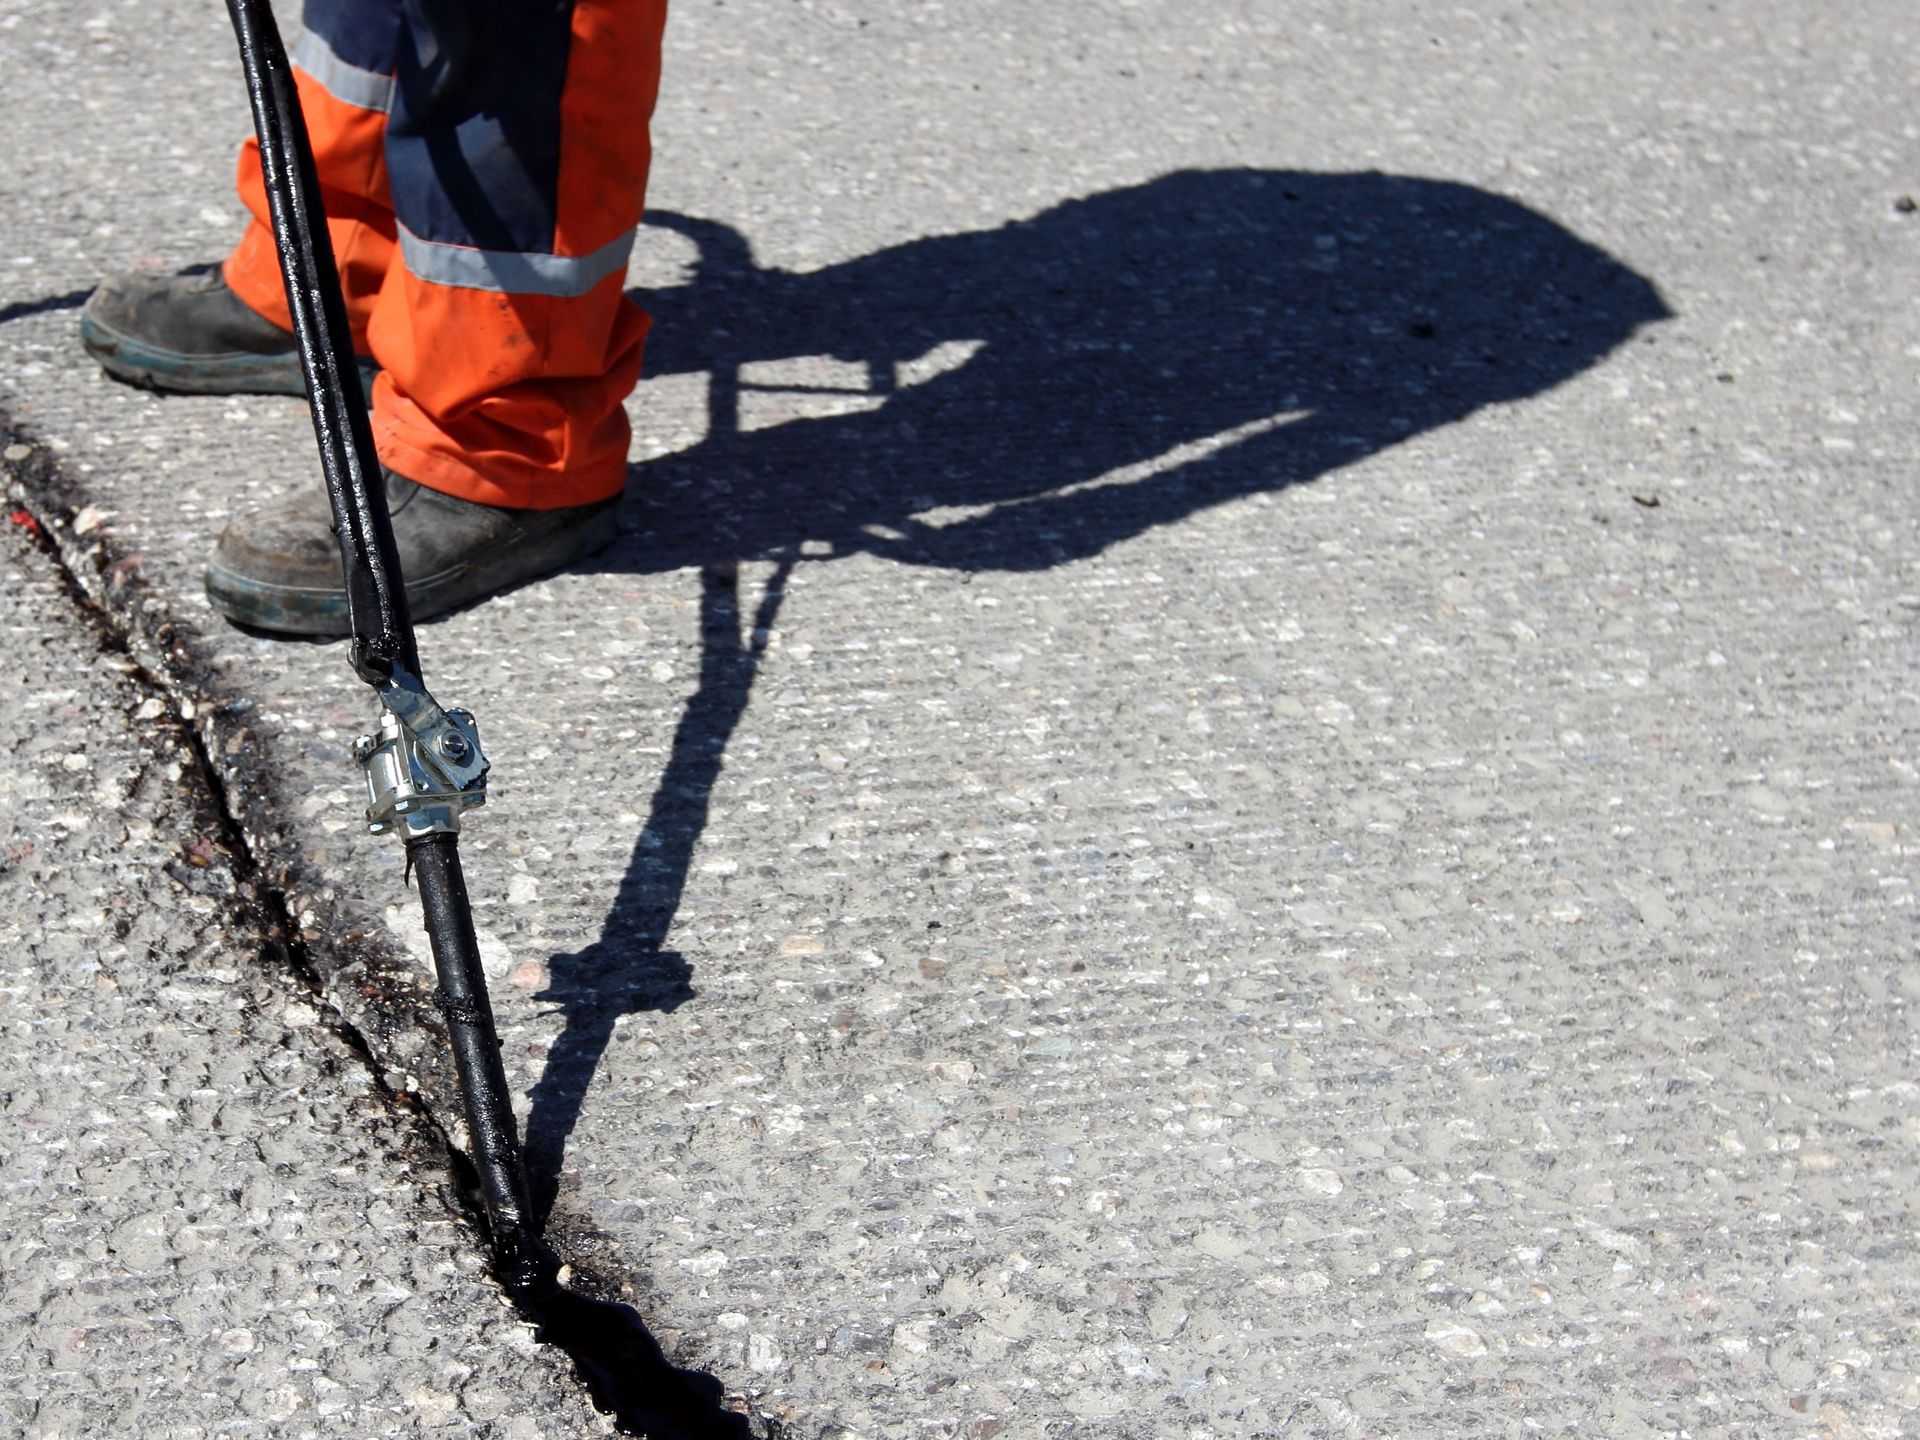
The first step in any maintenance plan is a thorough inspection to determine the severity of the wear and tear. Small, isolated cracks—often called "hairline cracks"—that are less than a quarter-inch wide are typically the best candidates for DIY intervention. These usually occur due to natural expansion and contraction and can be filled using pourable crack sealants found at most home improvement centers. However, when those cracks begin to resemble the scales of an alligator, you are no longer looking at a surface issue; you are looking at sub-base failure.
When the damage covers a large percentage of the surface area, the complexity of the repair increases exponentially. According to Gitnux, global asphalt production reached 120 million tons in 2022. This massive scale of production highlights just how ubiquitous this material is, yet much of that tonnage goes toward professional-grade resurfacing and reconstruction that a homeowner simply cannot replicate with bagged cold-patch products. If you find yourself looking at more than three or four localized areas of distress, it is time to consult a paving company to evaluate the structural integrity of the entire slab.
Understanding the Limitations of DIY Materials
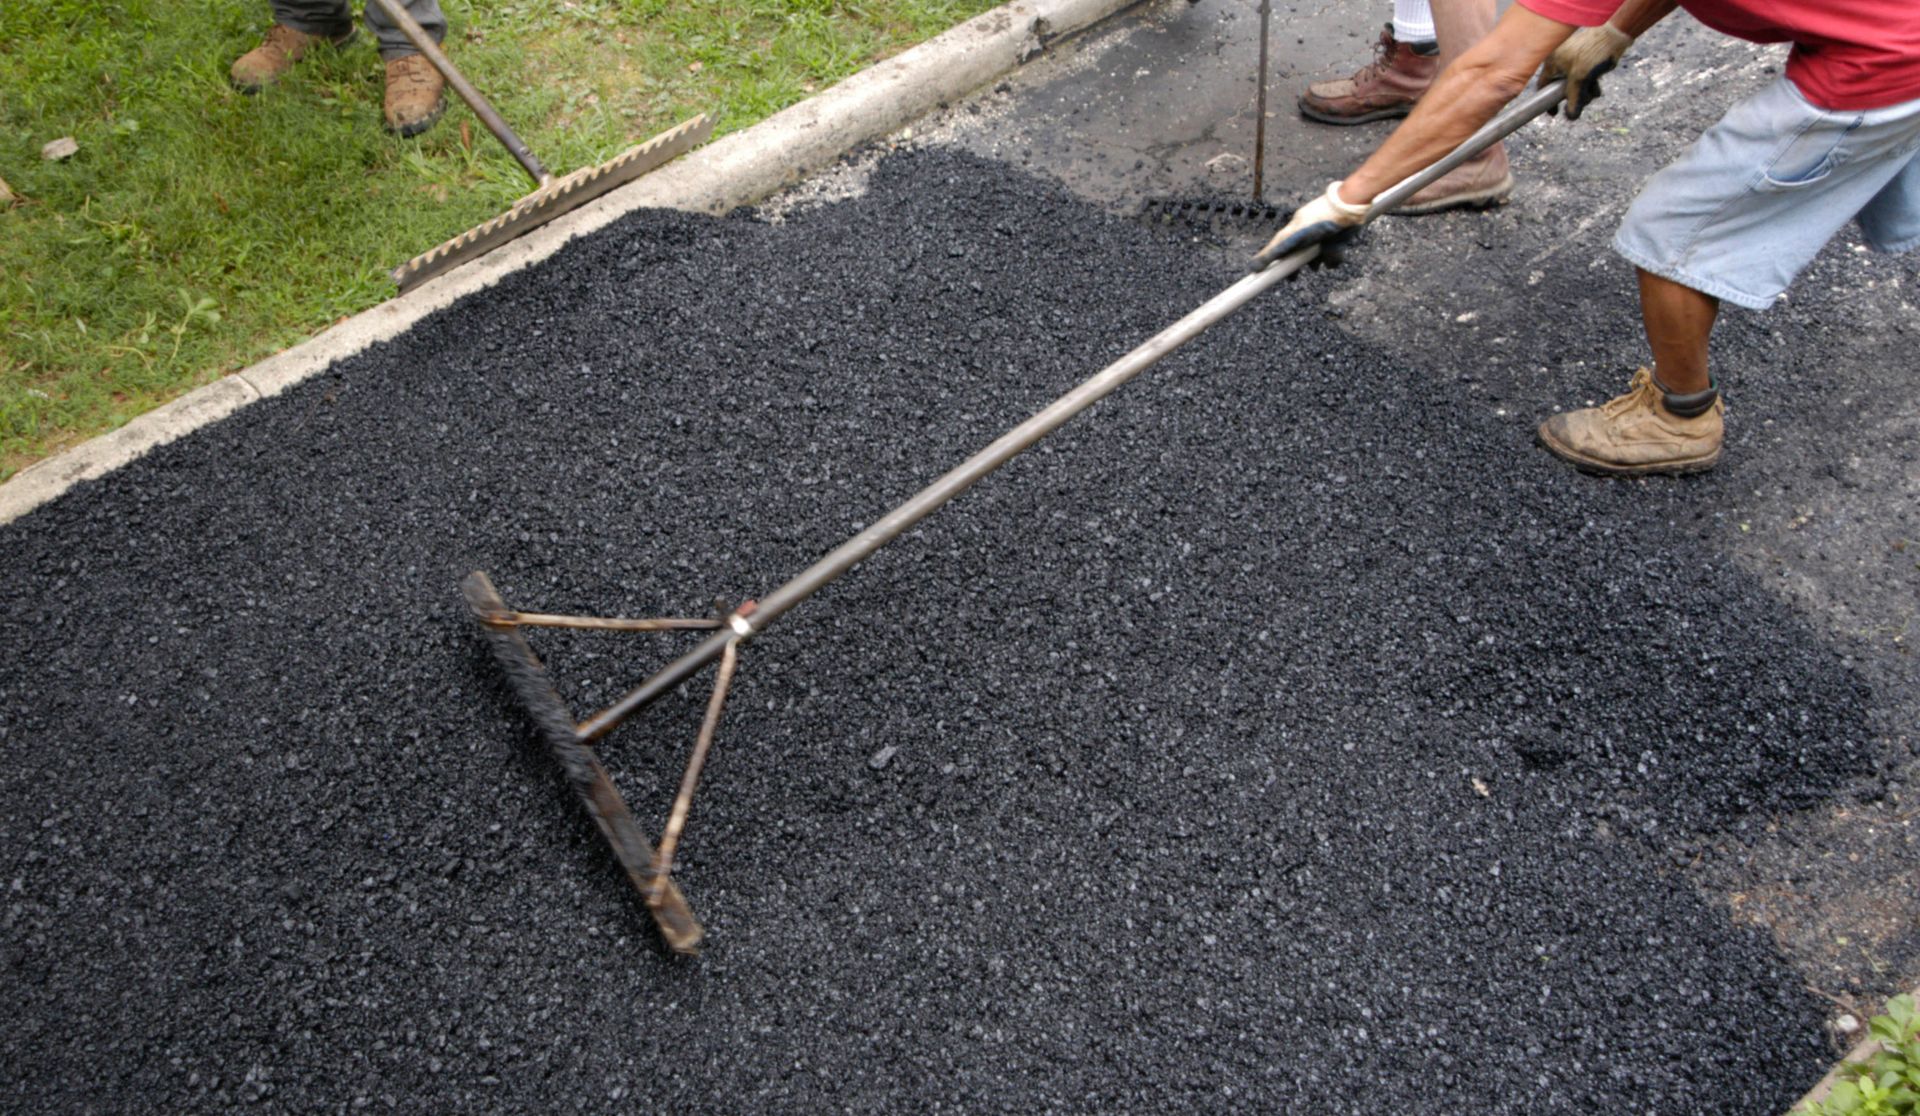
DIY asphalt repair kits generally rely on "cold-patch" technology, which is designed to stay pliable in the bag and harden upon compaction and exposure to air. While cold patch is an excellent temporary fix for a sudden pothole in the middle of winter, it is rarely a permanent solution. It lacks the binding strength of hot-mix asphalt, which is the industry standard for durability. Because cold patch does not "fuse" to the surrounding pavement at a molecular level via heat, it often stays somewhat flexible, leading to future dips or the patch popping out during a heavy freeze-thaw cycle.
Professional crews, conversely, use specialized heated trailers to transport hot-mix asphalt directly from the plant to your property. This material is applied at temperatures between 275 and 325 degrees Fahrenheit, allowing it to melt slightly into the edges of the existing pavement to create a seamless, waterproof bond. Beyond the asphalt itself, professionals have access to industrial-strength tack coats—liquid asphalt adhesives—that ensure the new material sticks to the old. Without this professional-grade "glue" and the thermal bonding of hot-mix, most DIY repairs are destined to be repeated every twelve to eighteen months.
Evaluating the Cost of Specialized Equipment
A successful asphalt repair is only as good as the compaction behind it. To truly fix a pothole or a wide trench, the new material must be compressed to a specific density to prevent water from seeping back into the sub-base. Most DIY enthusiasts are limited to using a hand tamper—a heavy metal plate on a wooden handle. While this provides some compression, it cannot achieve the thousands of pounds of force required to eliminate air voids. Leftover air voids act like tiny sponges, soaking up water that will eventually freeze, expand, and shatter the repair from the inside out.
A professional paving company arrives on-site with a fleet of heavy machinery specifically designed for the job. This includes vibratory plate compactors, multi-ton steel-wheeled rollers, and sometimes even pneumatic-tired rollers for larger areas. They also utilize high-powered blowers and wire-brush machines to clean cracks properly before filling them. If you were to rent this equipment yourself, the daily rental fees, fuel costs, and transportation logistics would likely exceed the quote provided by a contractor, making the "do-it-yourself" route more expensive and less effective in the long run.
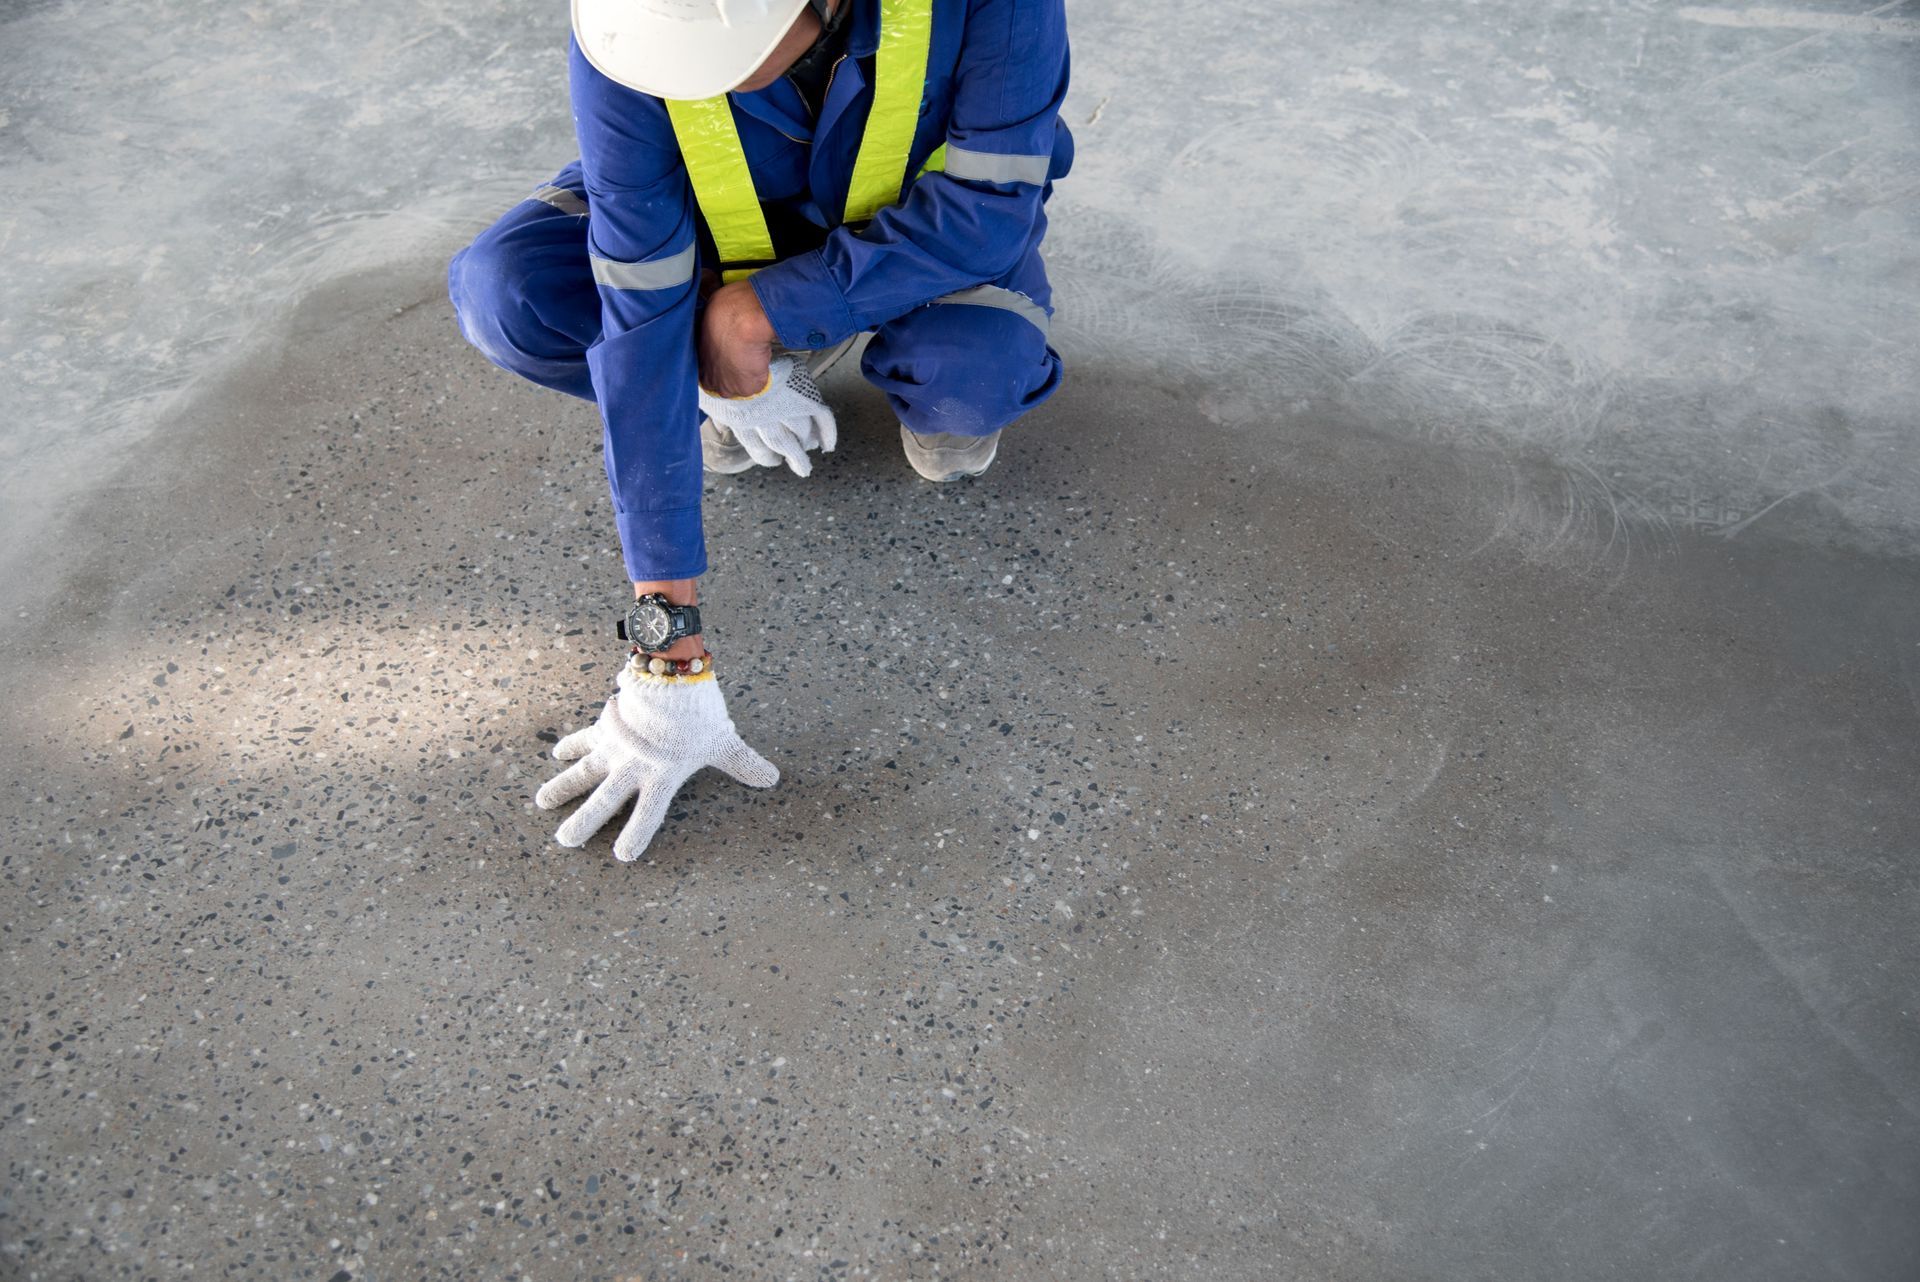
Recognizing the Importance of Sub-Base Integrity
The most common mistake made during DIY repairs is ignoring what lies beneath the blacktop. Asphalt is a flexible pavement, meaning its strength is derived almost entirely from the stone base underneath it. If a pothole has formed, it is often because the stone base has been washed away or saturated with water. Simply throwing a bag of patch into a hole without addressing the soft earth or missing gravel below is like putting a band-aid over an infection; the problem will only grow larger and more expensive.
Professionals are trained to "read" the pavement to identify drainage issues or base failures. When a paving company takes on a repair, they often perform a "full-depth" patch. This involves cutting out a neat square around the damaged area using a diamond-blade saw, excavating the failed sub-base, replacing it with fresh crushed stone, compacting that stone to a 95% Proctor density, and then applying multiple lifts of hot asphalt. This process restores the structural capacity of the driveway, ensuring that heavy delivery trucks or SUVs won't cause the area to sink again immediately after the repair is finished.
Mastering the Technical Art of Sealcoating
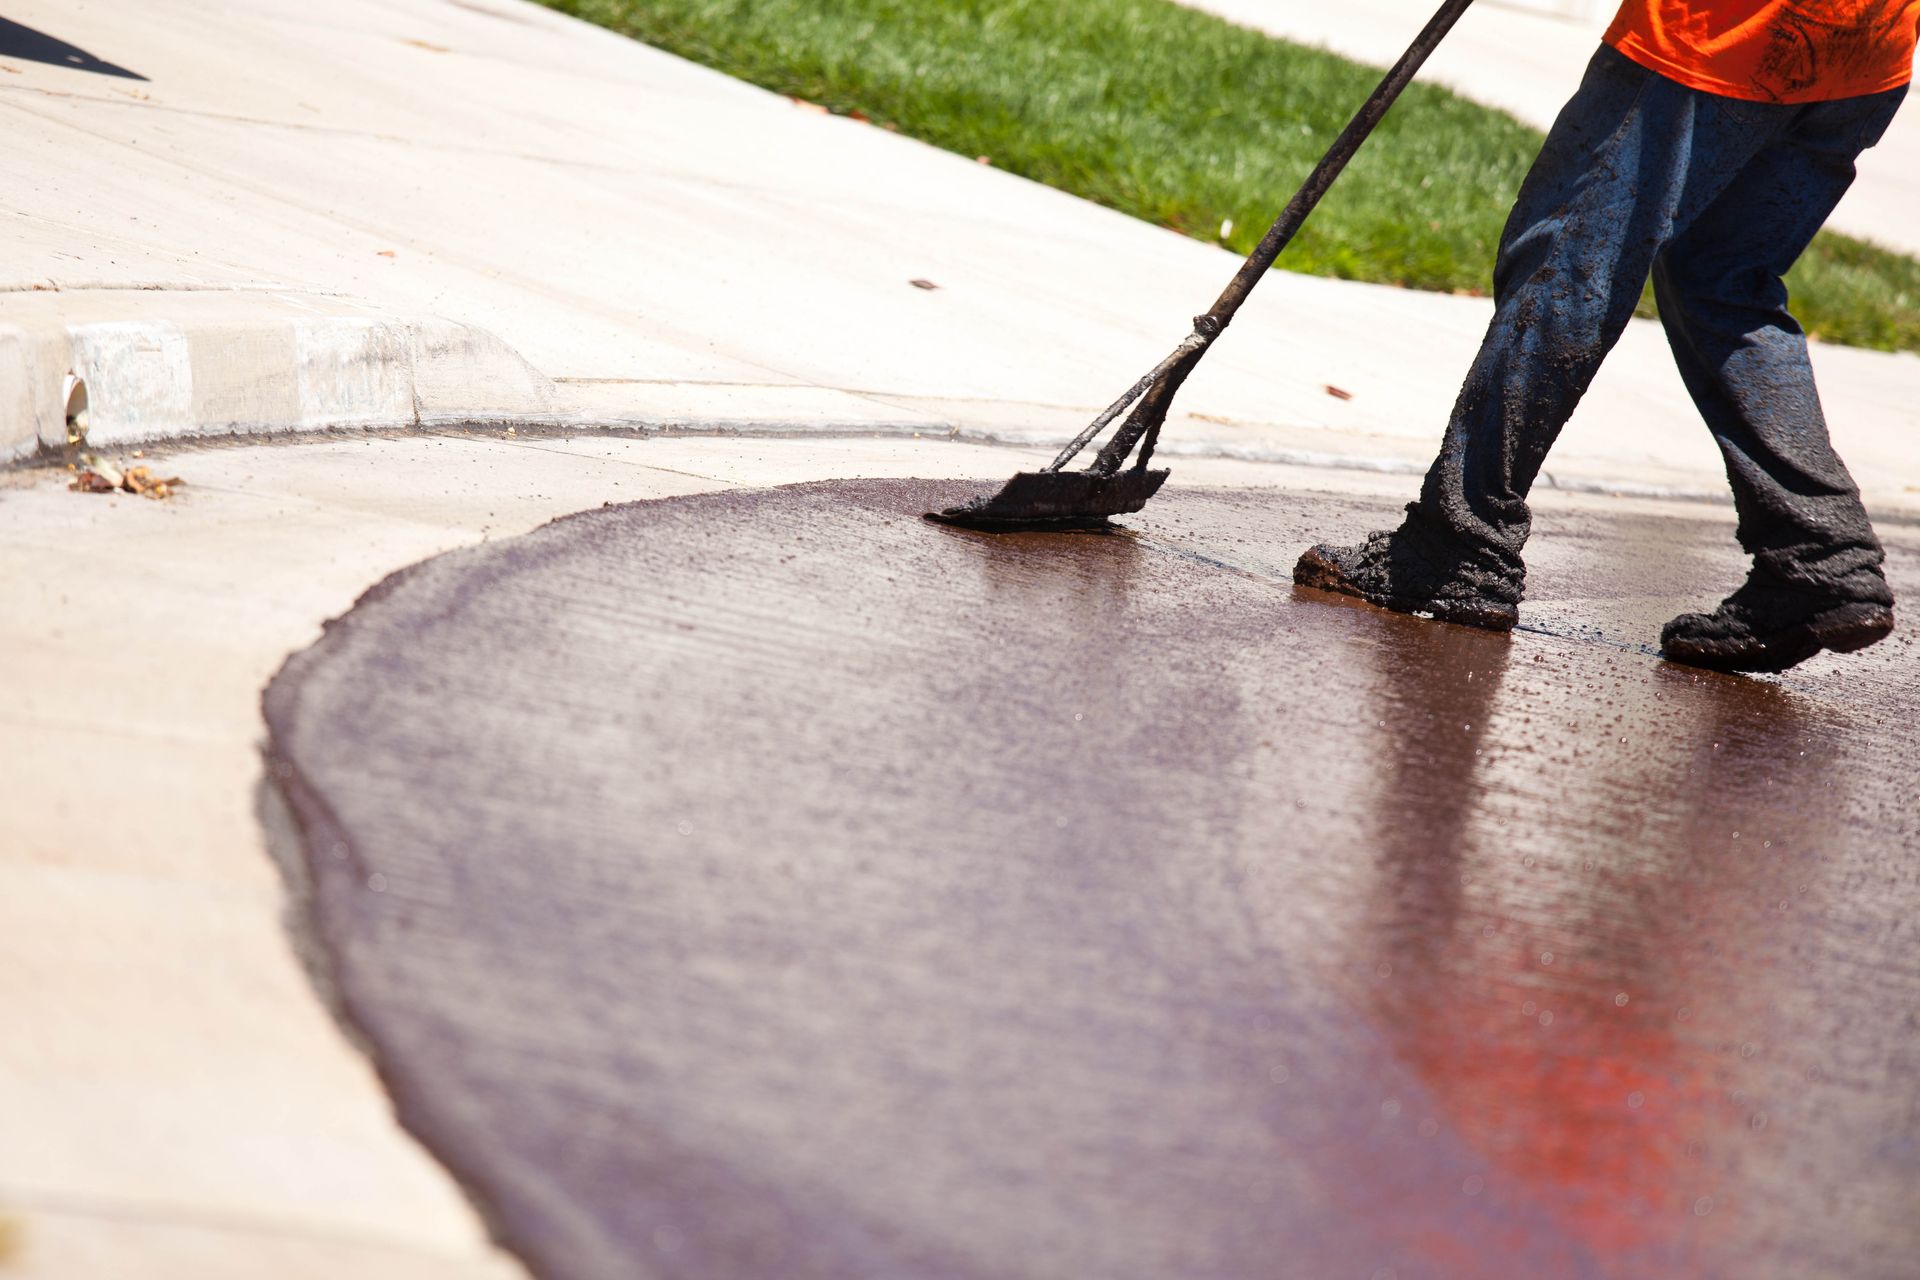
Sealcoating is the most popular DIY asphalt project because it appears as simple as painting a floor. However, the preparation phase is where most homeowners fail. For a sealer to bond, the asphalt must be 100% free of oil stains, dirt, and loose gravel. Professional contractors use acidic cleaners and specialized primers to treat oil spots from leaking cars. If you skip this step, the sealer will simply peel off the oil spot within weeks. Furthermore, pros use professional-grade coal tar or asphalt emulsion sealers that are not typically available in retail stores, which often sell "filler/sealers" that are thinner and less durable.
The application technique also dictates the lifespan of the project. If the sealer is applied too thick, it will crack and "check" like dried mud; if it is applied too thin, it won't provide the necessary UV protection. A paving company uses spray systems with high-pressure nozzles to ensure an even distribution, or they use a squeegee-and-brush method that "keys" the sealer into the pores of the asphalt. This professional application protects the bitumen from oxidation, which is the process that turns asphalt from black to gray and makes it brittle and prone to cracking.
Investing in Long-Term Property Value
Ultimately, the decision between DIY and professional repair comes down to the intended lifespan of the property. A DIY patch is a "quick fix" that can help you get through a single season or prepare a house for a quick sale, but it rarely adds real value. In contrast, a professionally maintained surface can last 20 to 30 years.
When a professional paving service manages your asphalt, they create a maintenance schedule that includes timely sealcoating and crack filling, which prevents the need for a total—and incredibly expensive—rip-out and replacement.
Choosing between DIY and professional asphalt repair requires an honest look at the damage and your own technical capabilities. While small cracks are manageable for the handy homeowner, structural issues and large-scale resurfacing demand the heat, heavy machinery, and expertise of a dedicated paving company.
By understanding when to call in the experts, you ensure your asphalt remains a durable and beautiful foundation for your property for many years to come. If you want to learn more about paving services, contact United Paving LLC today to get started!